A Celebrity Makeup Artist Taught Me How to Make My Lips Look Twice Their Size—No Filler Needed
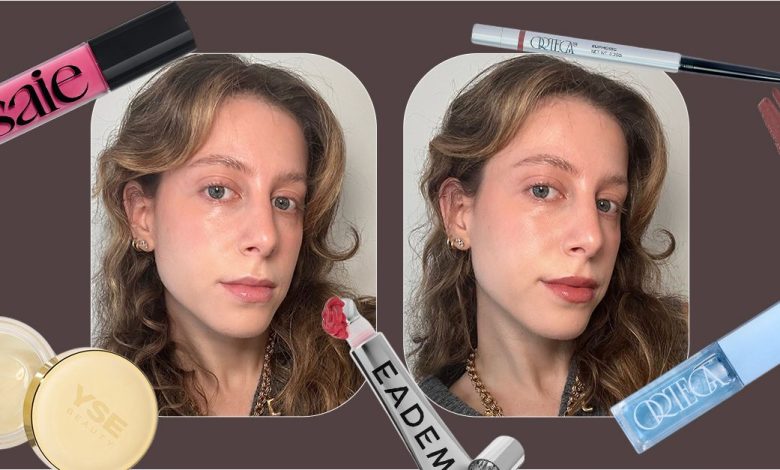
I can’t even begin to count the number of lip-enhancing hacks out there in the wild, wild West of my TikTok algorithm. There’s the “siren lips” hack, the cinnamon oil trick (that one’s questionable), Mario Dedivanovic’s viral lip-lift method… I could go on. Still, nothing beats a simple overlining technique—assuming you can do it correctly. With just a flick of liner and your tinted balm of choice, you can make your lips look twice their size, sans filler. Just ask Etienne Ortega, the celebrity makeup artist/magician responsible for the plump, glossy pouts of Lana Del Rey, Christina Aguilera, Becky G, and Kris Jenner.
The trick? Striking the right balance of light and shadow using liner and gloss. Find Ortega’s step-by-step process below (plus the reference photos I took in real time) for a fuller look that never appears too obvious.
How to Overline Lips: A Step-by-Step Tutorial
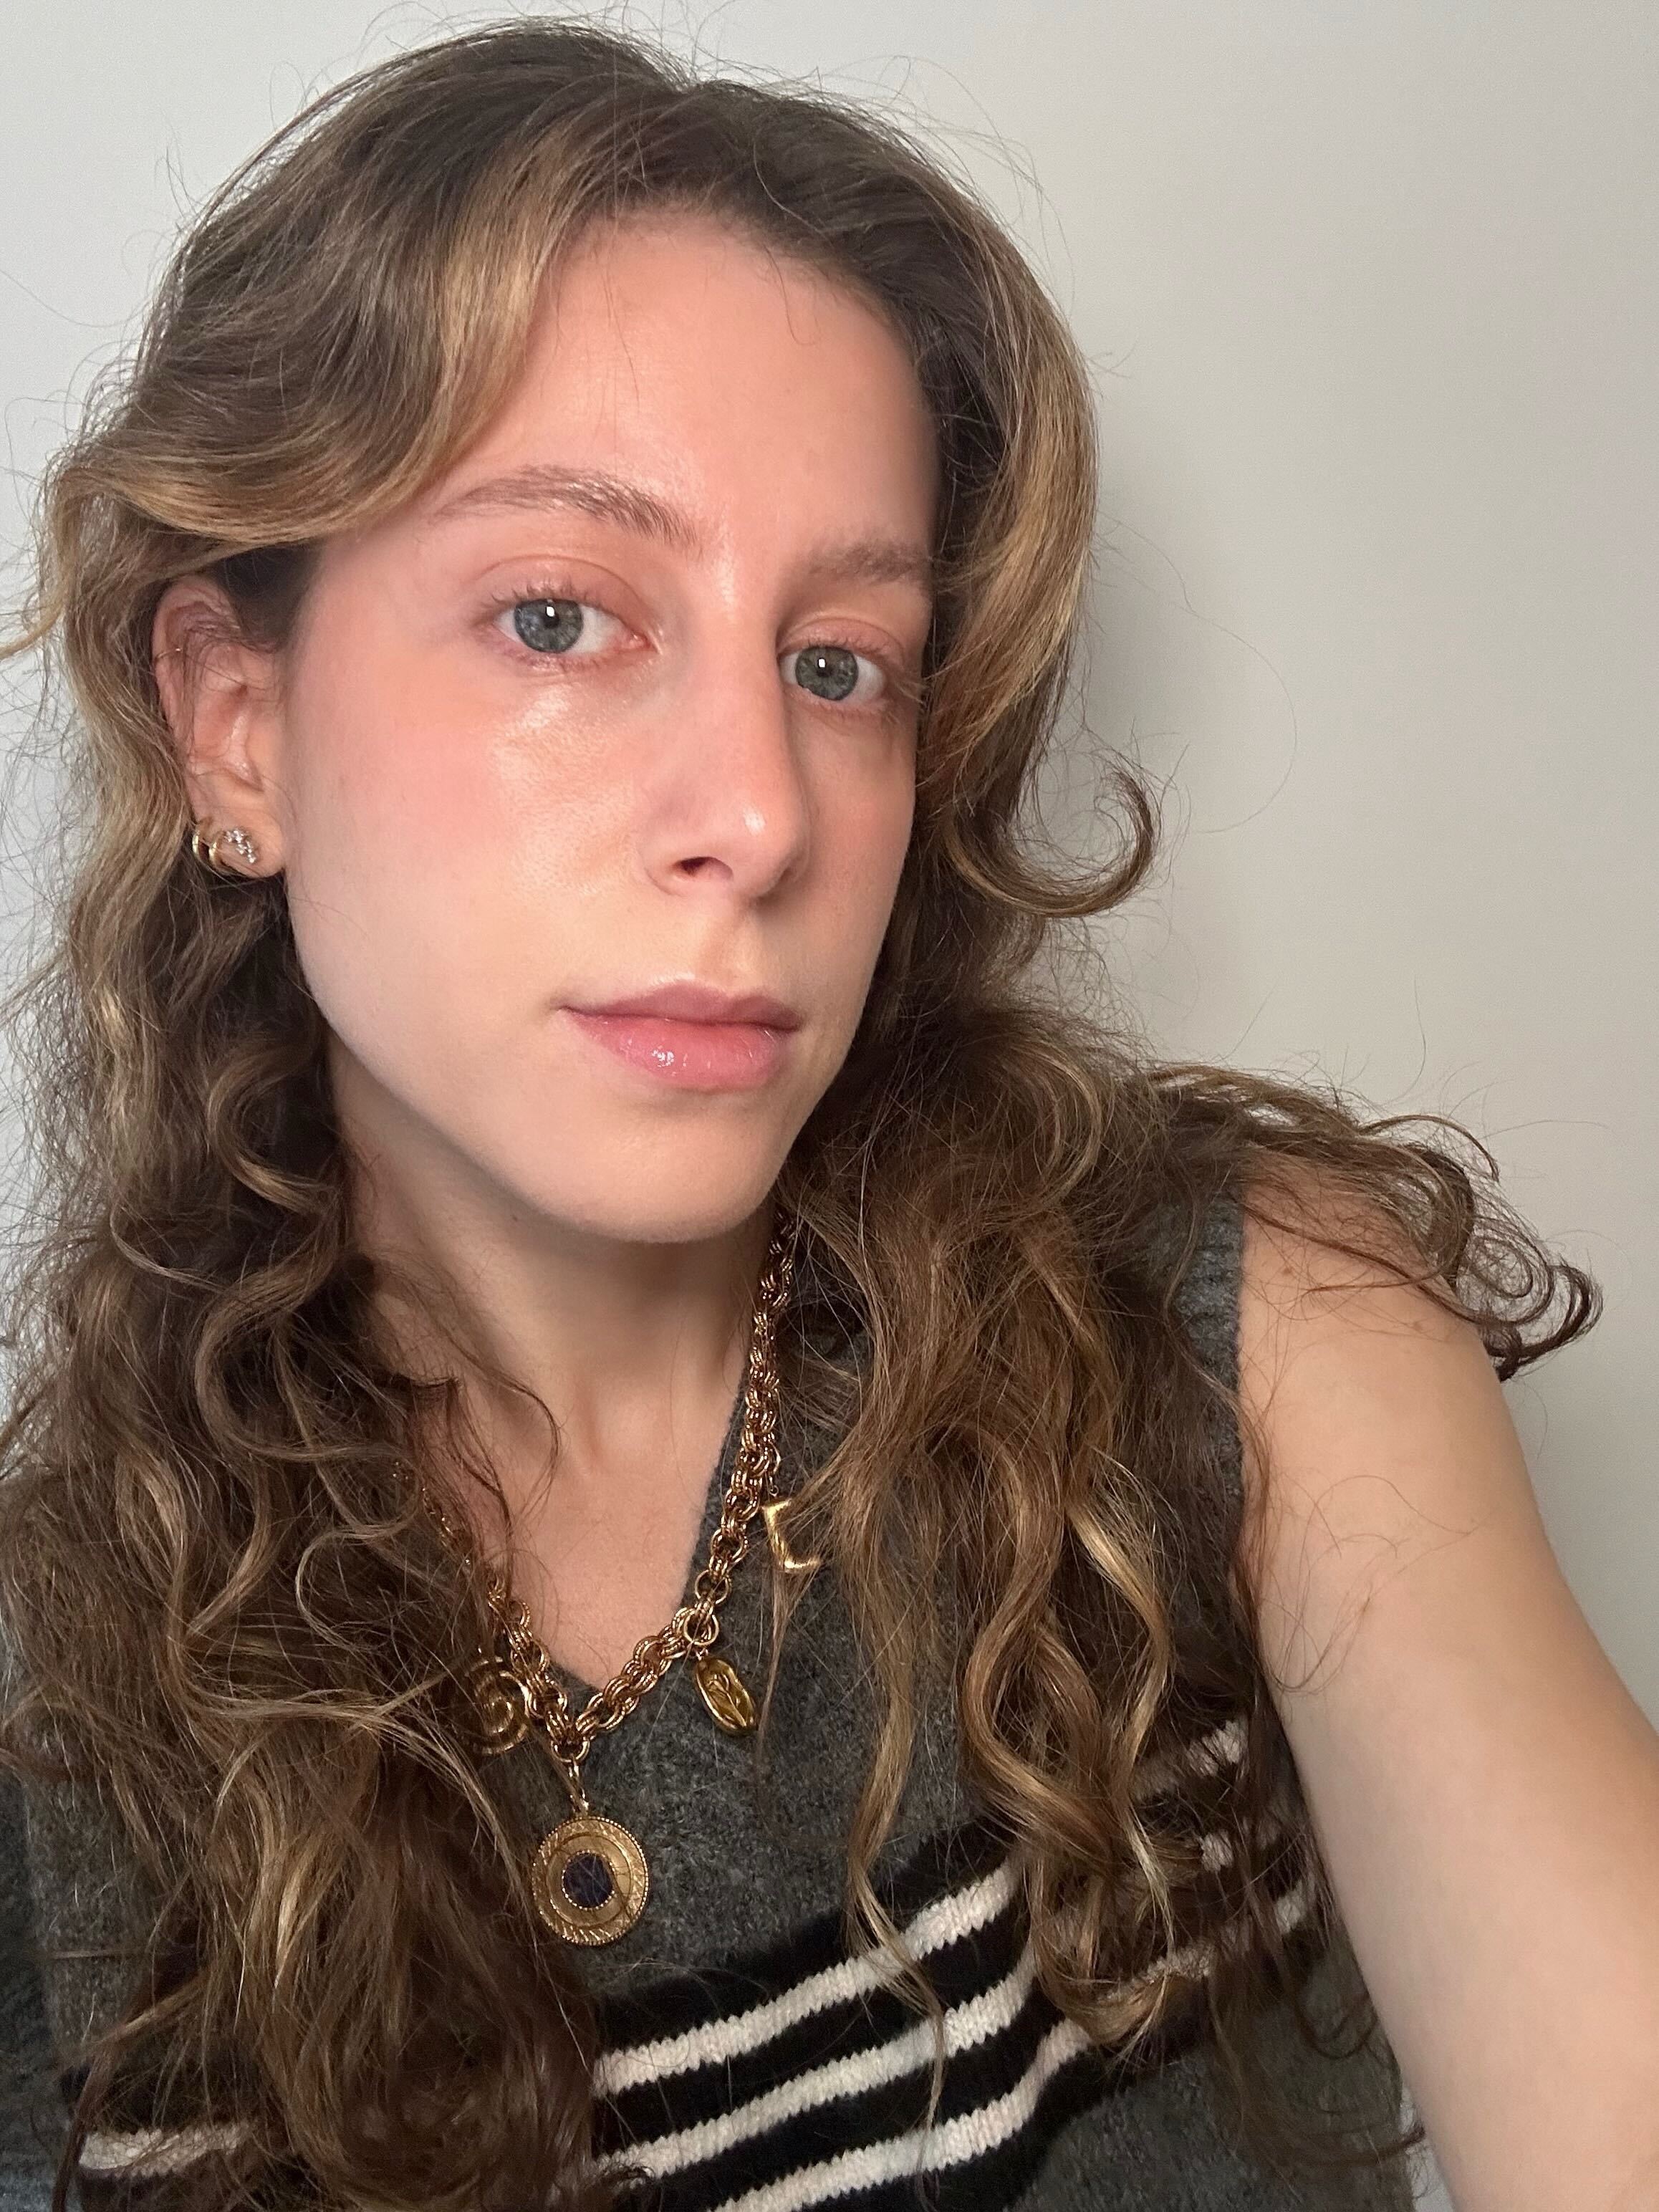
1. Prep Your Lips
As a general rule, healthy, moisturized lips naturally look fuller. Before you even think about picking up the liner, you’ll want to exfoliate and hydrate the delicate skin. For the former, I typically reach for lip scrubs since the physical exfoliation temporarily boosts circulation, lending a subtle plumping effect. Sometimes, I’ll even rub a clean, dry toothbrush across my lips to stimulate blood flow—a helpful tip in a pinch!
Just don’t forget to follow up with a moisturizing lip balm, or all that extra blood flow will be for naught. I love globbing on this hydrating mask from YSE Beauty, but you can find more editor favorites here. Say it with me: Exfoliation without moisture is a recipe for withered lips.
Leave it on for a beat as it absorbs, then wipe off the excess product when you’re ready to start your makeup routine. “You want to have a smooth, rejuvenated, and hydrated surface to start off with, but you also want to make sure there is nothing on your lips that will cause the liner to wipe off easily,” instructs Ortega.
2. Choose Your Liner
Okay, now for the makeup bits! Of course, you’ll need a “my lips but better” liner to create a natural-looking outline. “For a natural lip, you should be choosing a liner that is close to your natural lip color but two shades deeper. That way, that deeper shade gives that plumper lip look,” says Ortega. I love Ortega’s Soft Contour Lip Liner in the shade Euphoric, but you’ll be sure to find one you love from our list of 16 editor-approved options.
3. Start at the Cupid’s Bow
Once you have your liner du jour, Ortega recommends starting with the Cupid’s bow, which requires the most attention to detail. Draw a line down the middle of your top lip to separate the Cupid’s bow into two sections. “From there, you can start to draw a little heart shape on the Cupid’s bow, taking this opportunity to overline the lips in a natural way! That’s how you get that desired pouty look,” he adds.
4. Outline the Bottom
“Once the heart is done, you can then start to underline the bottom lip, again, starting at the middle,” Ortega explains. Draw a line on the center of your bottom lip, then trace the underbelly of your natural lip line and slightly go over—slightly being the operative word here. Model Georgia May Jagger also suggested holding a small mirror underneath your bottom lip so you can better see the line. (It’s a tip she learned from legendary makeup artist Val Garland.)
5. Connect the Dots
“Once those markers are in place, you can start to ‘connect the dots’ by lining the entire mouth,” Ortega adds. Connect your bottom lip line to the top, then fill in the corners with your liner for an ombré, pouty look. It may look a little undone in the photo below, but trust the process!
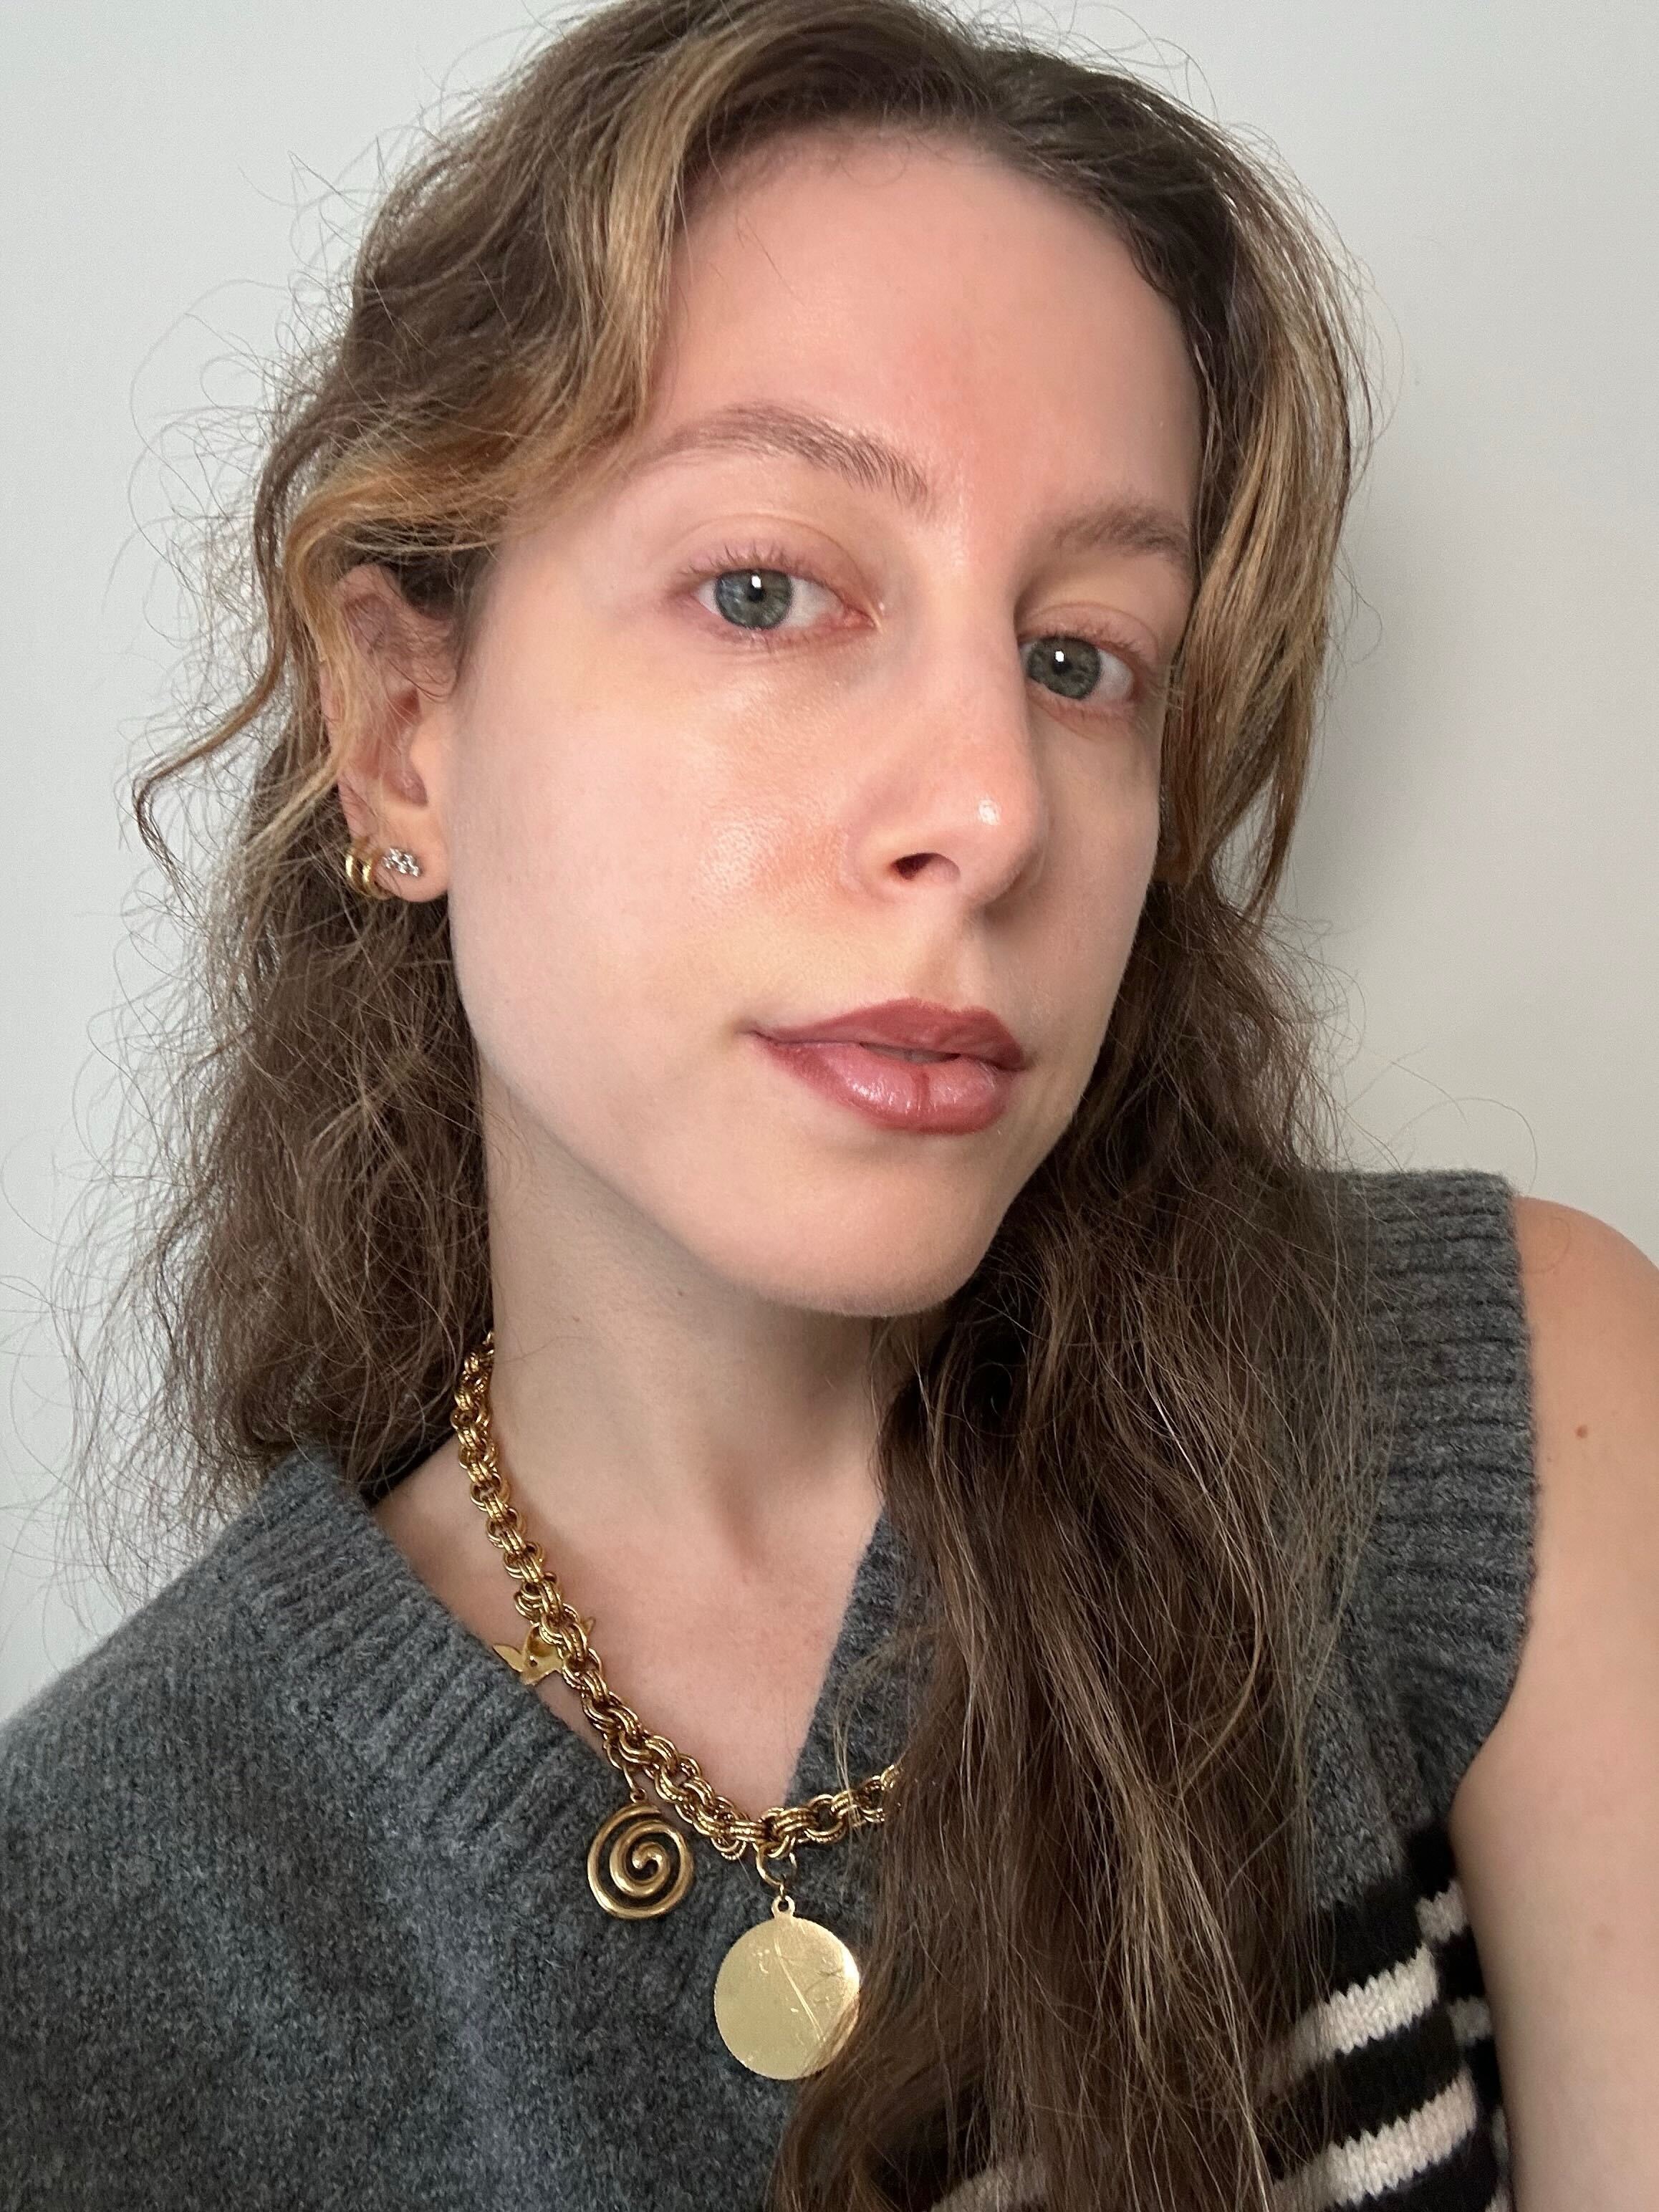
6. Blend the Edges
Next, diffuse the edges so the lines don’t appear too harsh. “My favorite way to blend in the liner is with a brush, but also, in a pinch, using your finger can work too,” Ortega says. Some lip liners come with a brush attachment for this very purpose (like Kosas’s Hotliner), or you could grab this tapered number from Sephora.
7. Add Your Color
Next, grab a similar shade of lipstick or tinted balm to press into your expertly lined lips. I like to blot my lipstick for a blurred “just kissed” effect, but you can also swipe it on for precise payoff.
You could also go with Ortega’s ombré lip technique. “I like to add a lighter—almost nude—color to the top/middle of the lip; that will give you a poutier, fuller-looking lip,” he suggests. “From there, you’ll go back with a brush and start to blend out the edges and blend it into the liner.”
8. Finish With Gloss
Finally, finish off your look with a gloss. “Sometimes, a super-glossy lip can add to that fuller effect,” Ortega adds. Just make sure to pop it in the middle of your lips, as keeping the attention on the center creates the illusion of fullness.
There you have it! A fuller pout in seconds with just three makeup products—liner, lip color, and gloss. I’ve been following this routine daily since learning Ortega’s routine, and it has yet to fail me. I’ve even been asked about my lip combo multiple times since committing to the step-by-step tutorial, so make sure to shop it below!
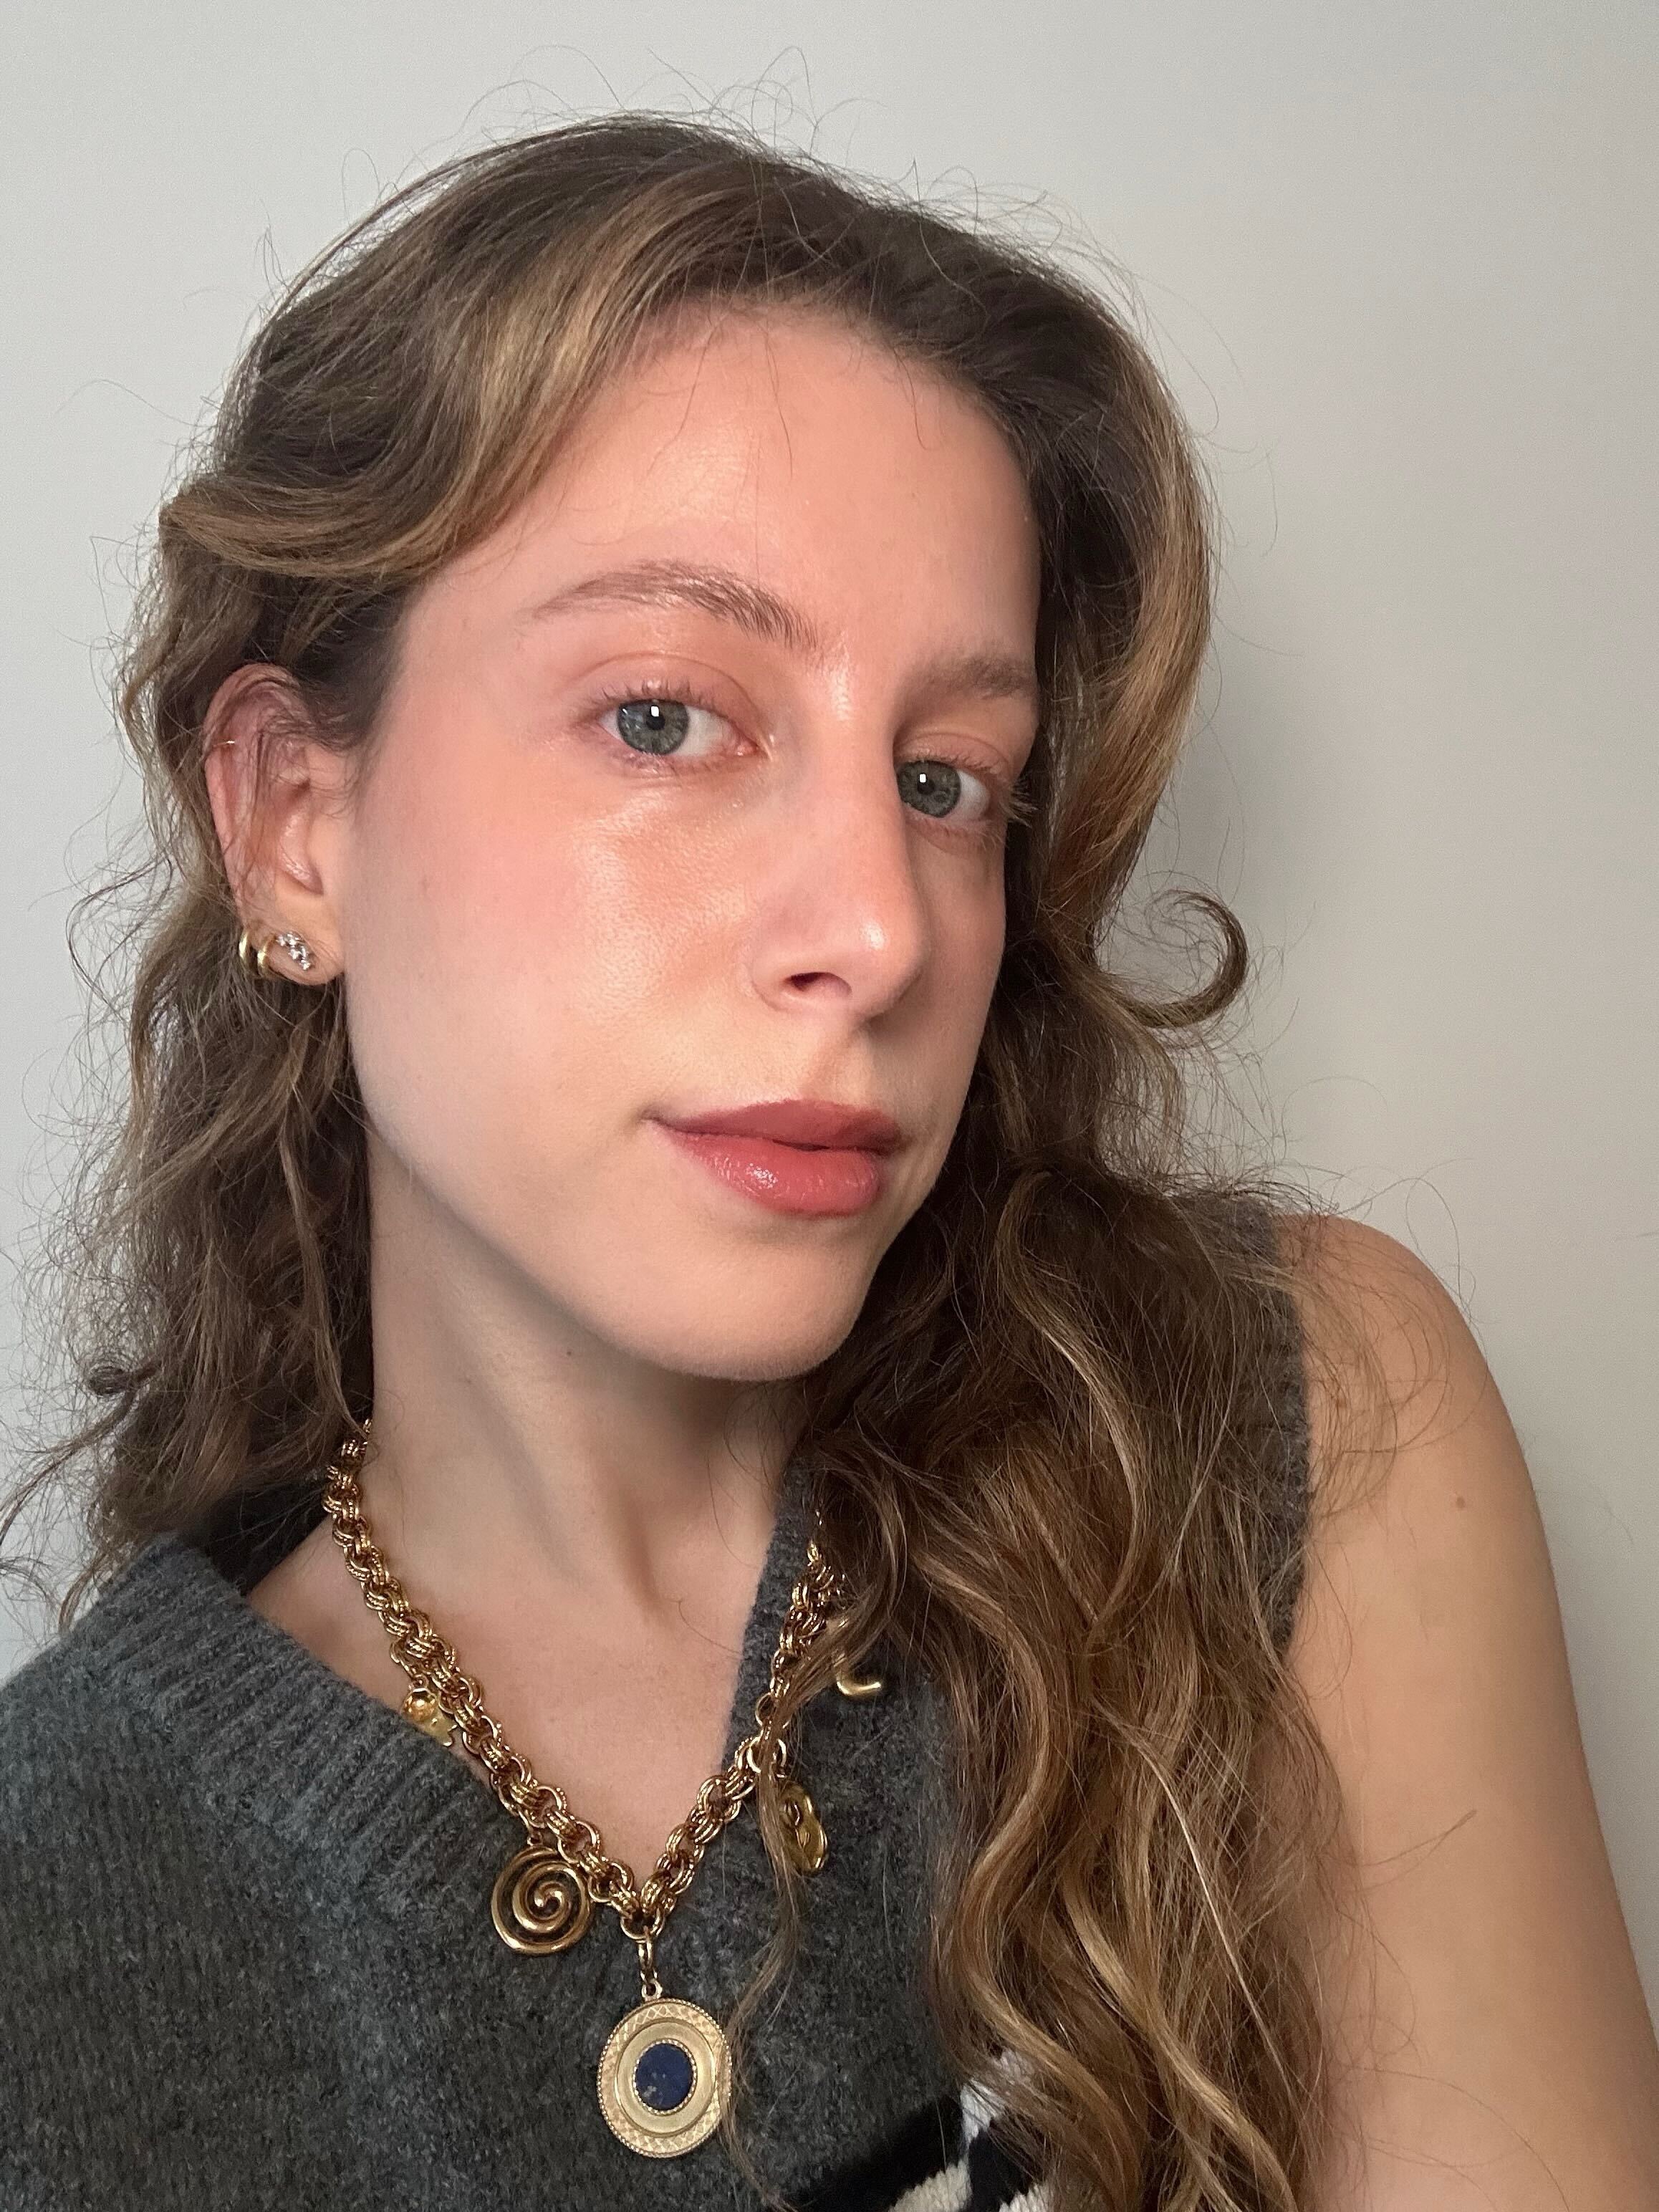
Extra Tips and Tricks
- Clean up the edges: “I like to clean up around the lip with a tiny bit of concealer on a brush to make sure all the lines are clean and natural,” says Ortega.
- Use lip plumper: Instead of a regular gloss, you could always apply a dab of lip plumper onto the center of your lips to further prop up your lips. I love Maybelline’s Lifter Plump Lip Plumping Gloss and Polite Society’s B.I.G. Mouth Lip Plumping Oil Gloss. Both are pretty spicy but provide noticeable volume.
- Add extra highlighter: “You can also always highlight your Cupid’s bow with an Ethereal Glow Balm to emphasize natural high points of your lips!” Ortega adds.
Shop the Story
Explore More:
Source: WhoWhatWear
Related Posts
- 5 foods you must have if want Korean Glass Skin
- I Asked the Coolest People I Know: What Makes an It-Girl Lip Balm?
- 7 hairstyles for women popular in 2025 weddings
- 12 Coconut Perfumes That Smell Like an Expensive Vacation (and Not Sunscreen)
- The 6 Hats Everyone Will Be Wearing Instead of Bucket Hats This Summer

