Dealing with facial hair is just one of those things that comes with the territory. A little fuzz on the upper lip, a few stray chin hairs, some peach fuzz on the sides, it’s nothing to stress about, but yeah, it’s nice to have options when you want a cleaner look.If you’ve ever dreaded a trip to the salon or just couldn’t squeeze it into your week, threading at home might be your new best friend. It’s affordable, chemical-free, doesn’t need fancy equipment, and once you get the hang of it—it’s kind of addictive in a weirdly satisfying way.So if you’re ready to take threading into your own hands (literally), here’s a full, step-by-step guide to doing it at home without turning it into a horror story.
What You will need


Good news, threading requires almost nothing. Here’s your basic kit:Cotton sewing thread (strong, smooth, not the super cheap kind)Mirror (a magnifying one is even better)
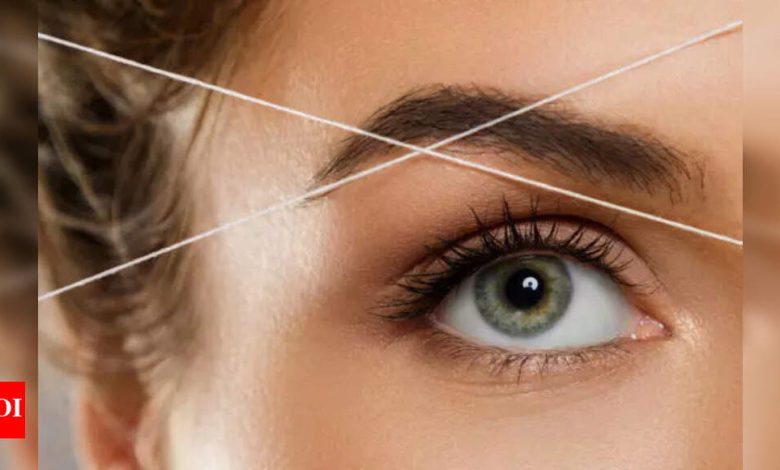
Talcum powder or cornstarchAloe vera gel or any gentle moisturiserOptional: a small brush or spoolie to brush hair in one directionThat’s it. No wax, no machines, no drama.Step 1: Start with a clean faceAlways start fresh. Wash your face with a mild cleanser and pat it dry. You want your skin to be clean and oil-free so the thread can grip properly and you don’t end up with any irritation afterward.Once your face is dry, dust a light layer of talcum powder or cornstarch on the area you want to thread. This just helps absorb extra oil and lets the thread glide more easily.Step 2: Cut and prep your threadCut around 12 to 15 inches of cotton thread and tie the ends together to make a loop. Hold it between both hands and twist the middle 5 to 10 times. You should end up with a twisted “X” shape in the centre.That twist is the star of the show, it’s what catches and removes the hair as you move it across your skin.Now practice opening one hand while closing the other, making the twisted part move side to side. This takes a bit of practice, so try it on your leg or arm before you go anywhere near your face.Step 3: Time to threadOnce you’ve got the motion down, bring the twisted thread to your face. The twist should sit right over the hair you want to remove. Keep the thread flat against your skin and move the twist across the area by opening and closing your fingers.The hair gets caught in the twist and pulls out from the root. Yeah—it stings a little. But honestly? It’s not that bad, and the results are worth it.
Tips to make it easier
Always go against the direction of hair growthPull the skin tight with your other hand so it’s easier to threadStart slow and take breaks if your hand or face starts feeling soreStep 4: Calm it all downOnce you’re done, your skin might look a little red or feel warm. Totally normal. Gently wipe the area with cold water or rose water and then apply aloe vera gel or any soothing moisturiser you like.Try not to touch your face too much right after, and if you can, skip makeup for a few hours. Give your skin a breather.
Where you can thread
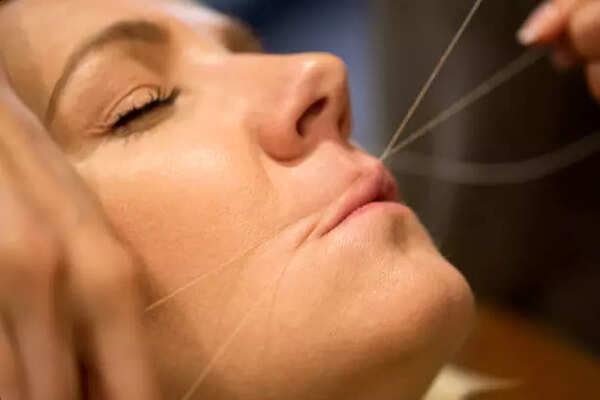
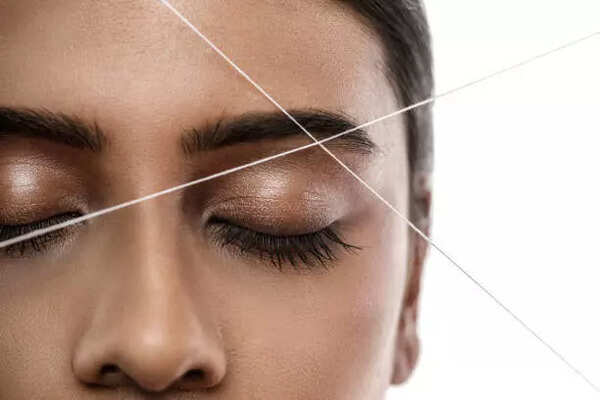
Threading works great for:Upper lipChinSideburnsForeheadBetween your brows (but be super careful here)If you’re new to threading, maybe hold off on trying to shape your eyebrows right away. It’s easy to overdo it, and nobody wants wonky brows for the next three weeks.
How often should you thread?
Totally depends on how fast your hair grows, but most people find themselves reaching for the thread every 2 to 3 weeks. The more regularly you do it, the easier it becomes—and over time, hair can grow back finer and slower.
Why threading?
There are loads of ways to deal with facial hair – waxing, shaving, tweezing, laser but threading is one of the oldest (and cleanest) methods out there. No heat, no chemicals, no damage to the skin barrier. It gives you super precise results and works really well for sensitive areas.
Plus, once you know how to do it, you’re free from salon appointments for good.
Tips
Don’t thread right before a big event. Your skin might be red for a bit, especially the first few times.If you’re on your period or just extra sensitive, maybe hold off. Your pain threshold might be lower than usual.Avoid doing it under harsh yellow lighting, natural light is your best friend here.Threading at home might sound intimidating at first, but once you try it, you’ll realise it’s not that scary. It’s cheap, it’s quick, and it gives salon-level results if you do it right.
And hey, the first time might not be perfect but like most things, practice makes polished. Give it a try, go slow, and soon enough you’ll be your own go-to threading expert.Smooth skin, minus the hassle? That’s a win in our books.
Source: times of india
HiCelebNews online magazine publishes interesting content every day in the Hair section of the Fashion & Beauty category. Follow us to read the latest news.
Related Posts
- The Summer Basic That Is Now Replacing All My Denim Shorts
- Why hair loss feels like a social emergency in South Korea!
- 5 morning habits that can delay ageing
- The Summer 2025 It-Girl Wardrobe: 7 Highly-Specific Items They're All Wearing
- Editors Agree—Of All the Hair Tools on Sale for Amazon Prime Day, These Are the 16 Must-Haves